Step-By-Step Guide to Tracking Purchases in GA4 – WordPress
6th Jul 2023

Google Analytics 4 (GA4) is a brand-new data analytics tool that has overtaken industry news headlines. However, with newfound innovation comes new challenges. Many marketers and business owners are confused about GA4. They want to know how to track purchases and make the most of this powerful platform.
But don’t worry, we have a solution. We’ve prepared a step-by-step tutorial to help WordPress users understand purchase tracking with GA4. Ultimately, allowing you to gain valuable insights and optimise your digital strategy.
Alternatively, if you’re looking for answers on how to implement & migrate to GA4 for your business – we’ve got you covered.
Phase 1: Install the GTM4WP plugin on your WordPress website
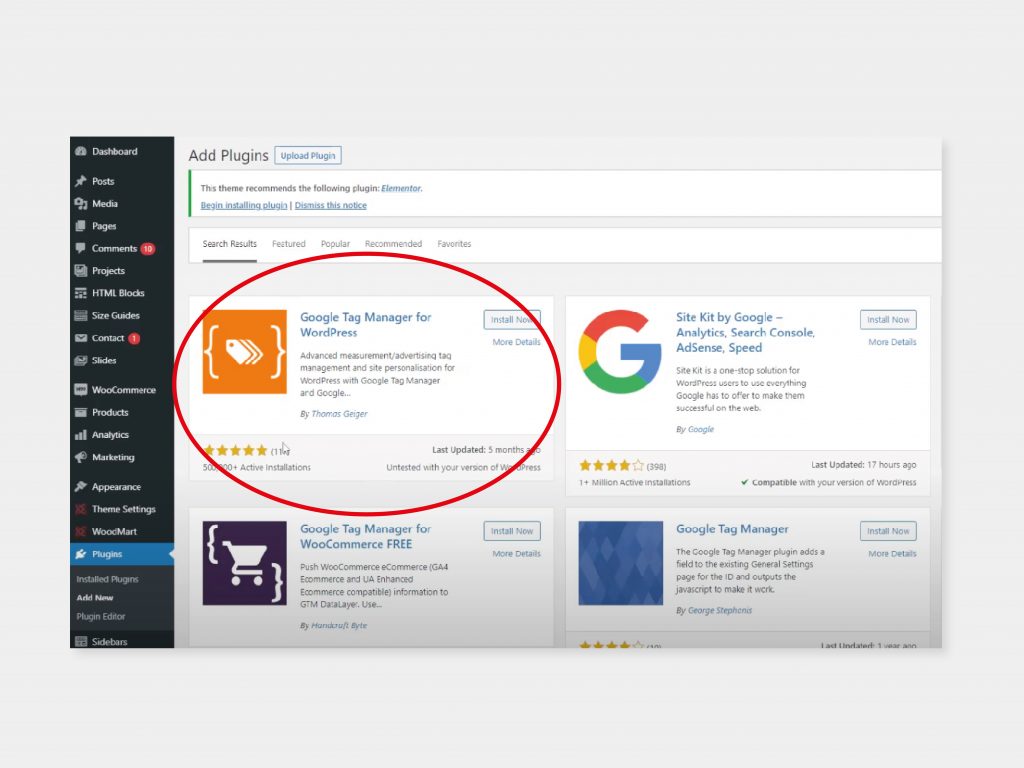
Step 1: Install the ‘Google Tag Manager for WordPress’ (now called ‘GTM4WP’) plugin by ‘Thomas Geiger’
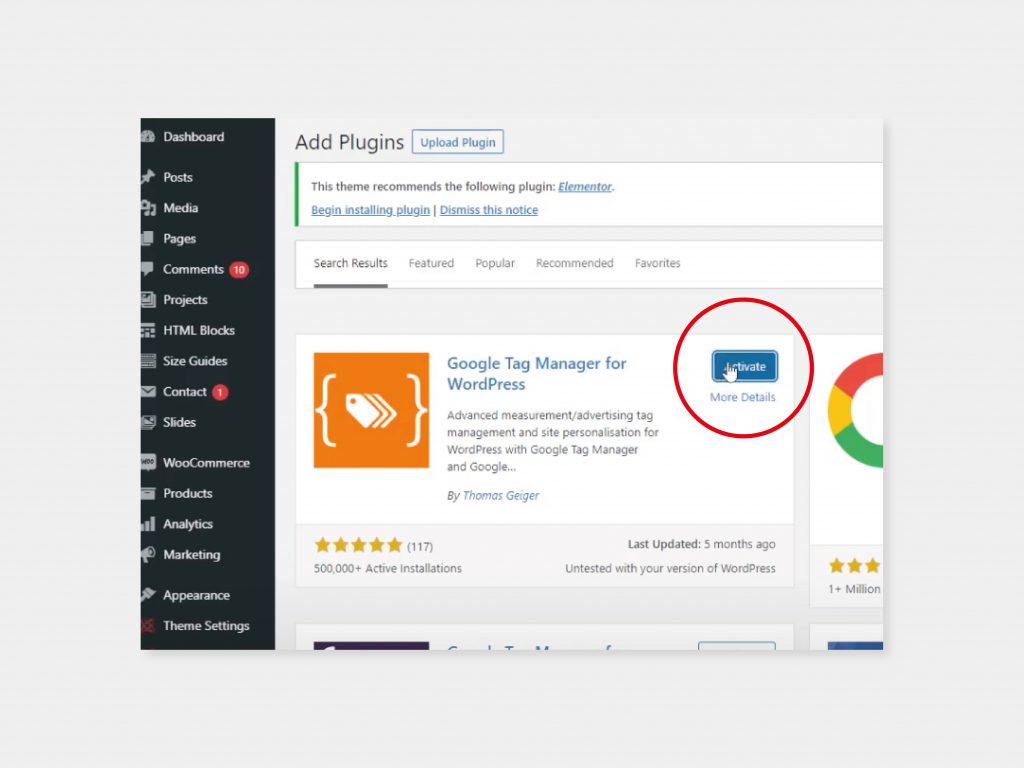
Step 2: Activate the plugin you have just installed
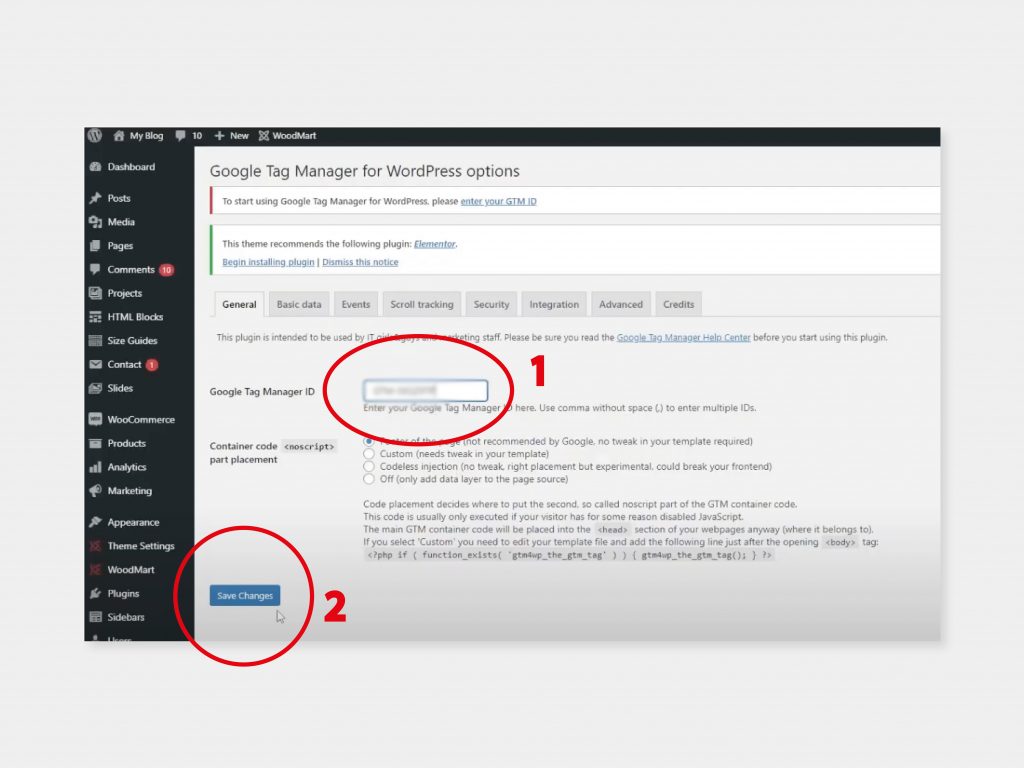
Step 3: Go to ‘Settings’. Then ‘Google Tag Manager’. Copy and paste your Google Tag Manager ID. Then, click ‘Save Changes’
Phase 2: Link your Google Tag Manager account to your Google Analytics account
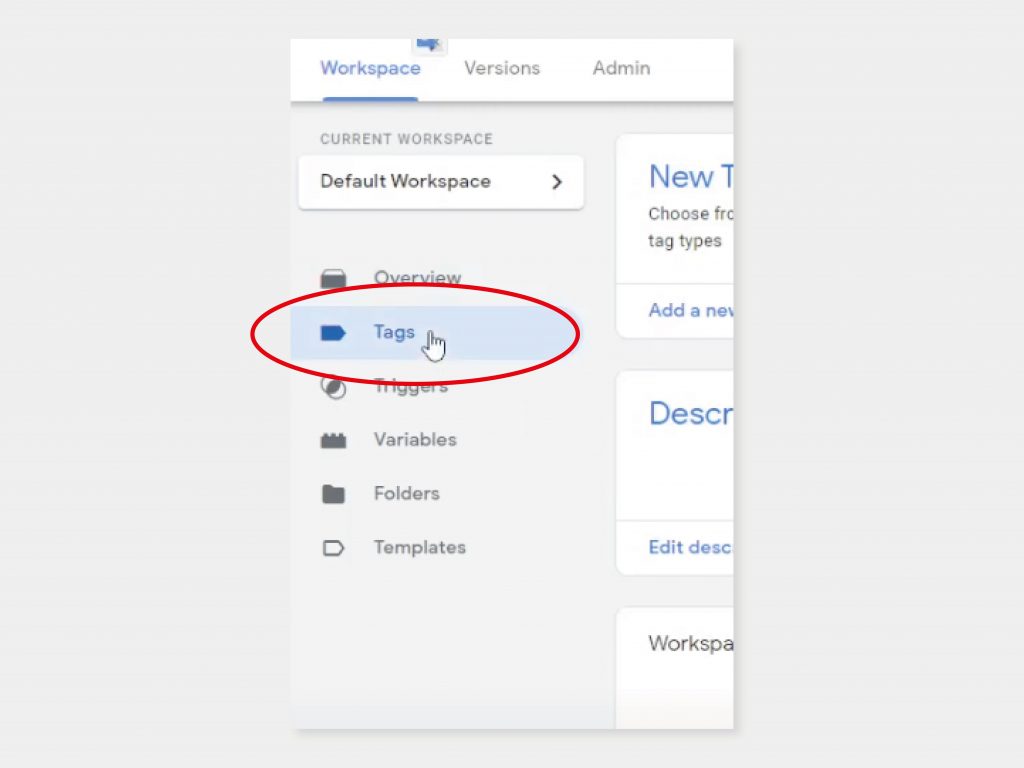
Step 4: Go to Google Tag Manager and click on ‘Tags’. Then, click on ‘New’
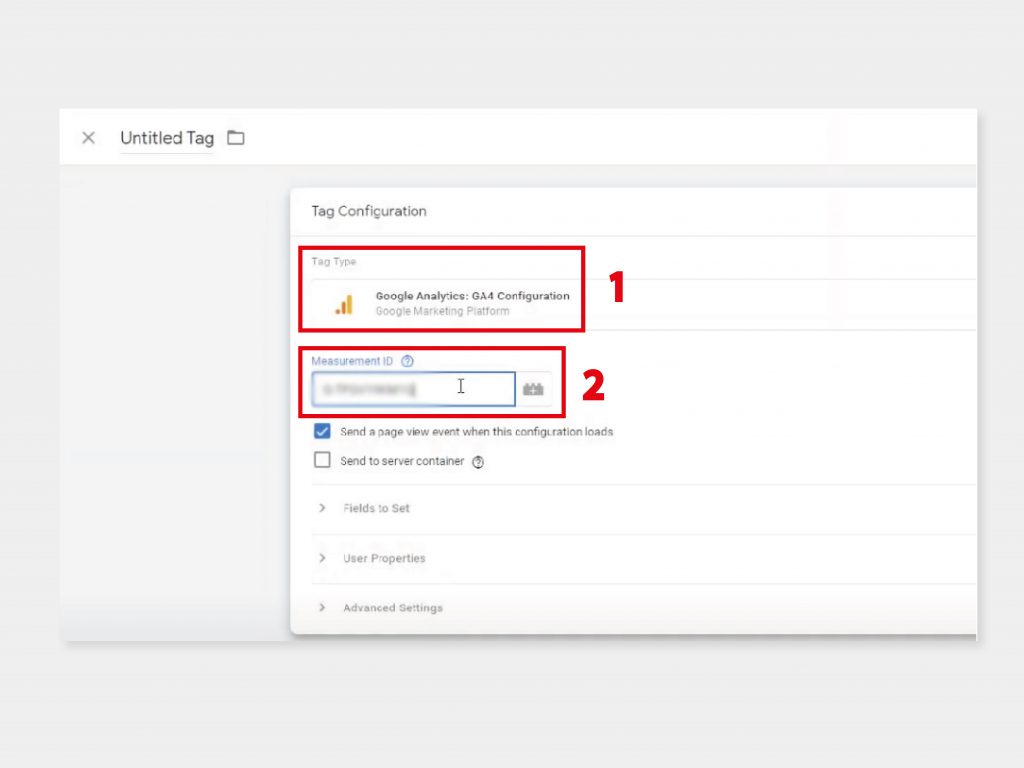
Step 5: Select the Tag Type as ‘Google Analytics: GA4 Configuration’. Then, copy and paste your Google Analytics ID (also known as ‘Measurement ID’) into the ‘Measurement ID’ box
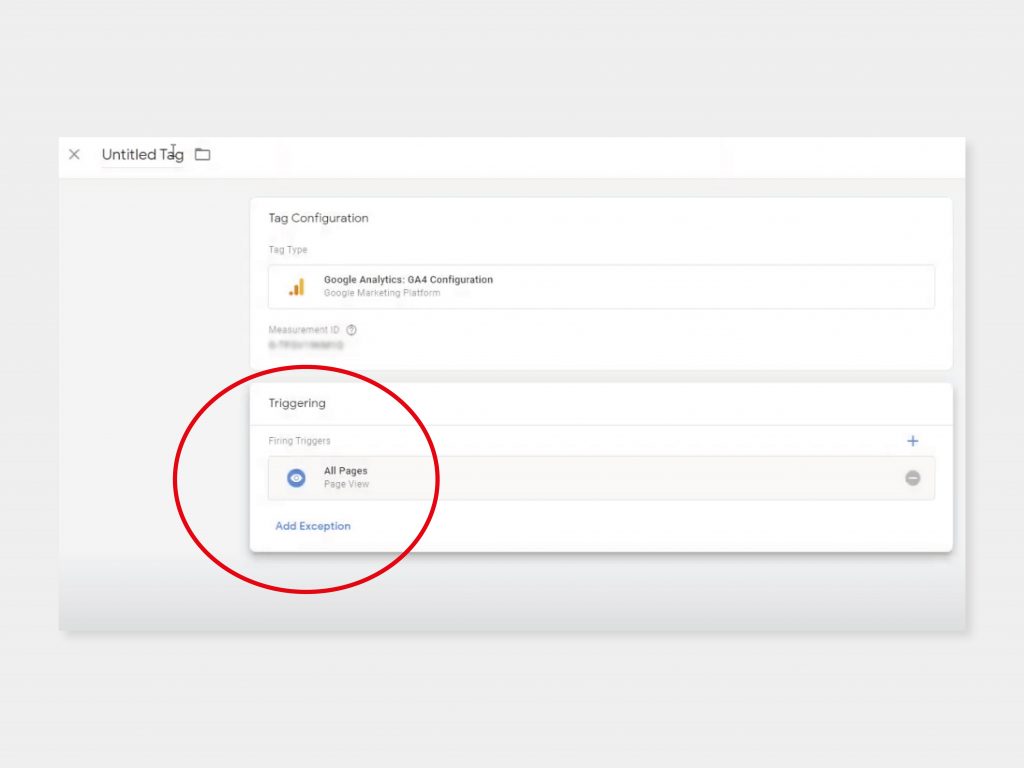
Step 6: Set the ‘Triggering’ to ‘All Pages’
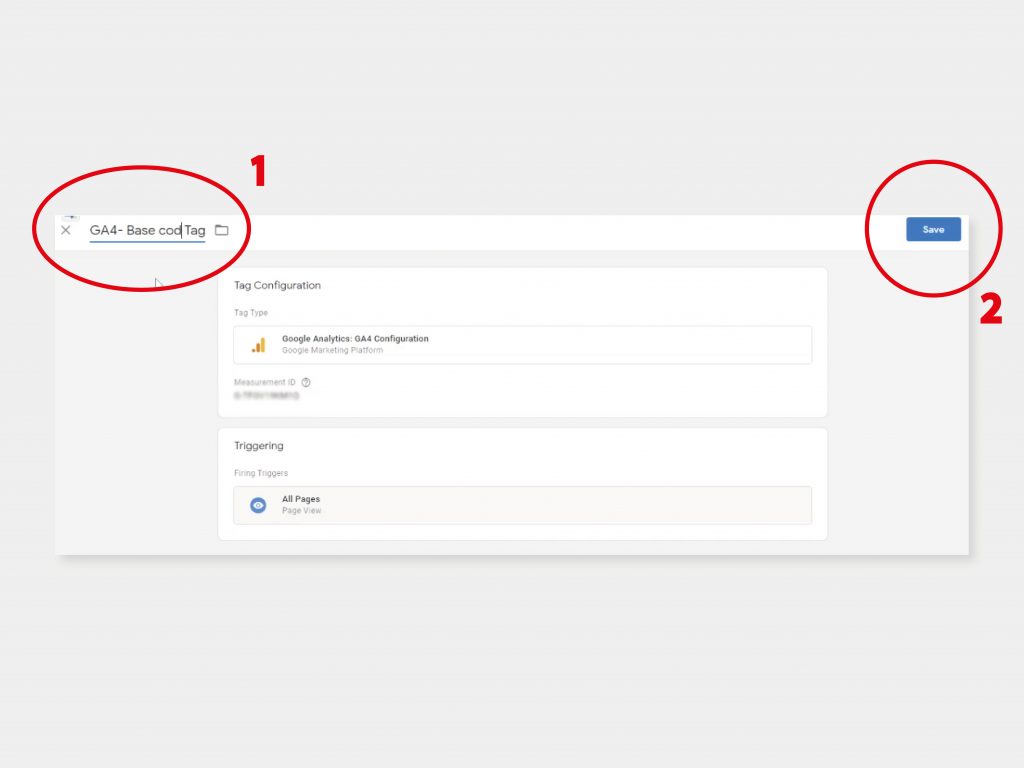
Step 7: Name your tag ‘Google Analytics 4’ and click ‘Save’
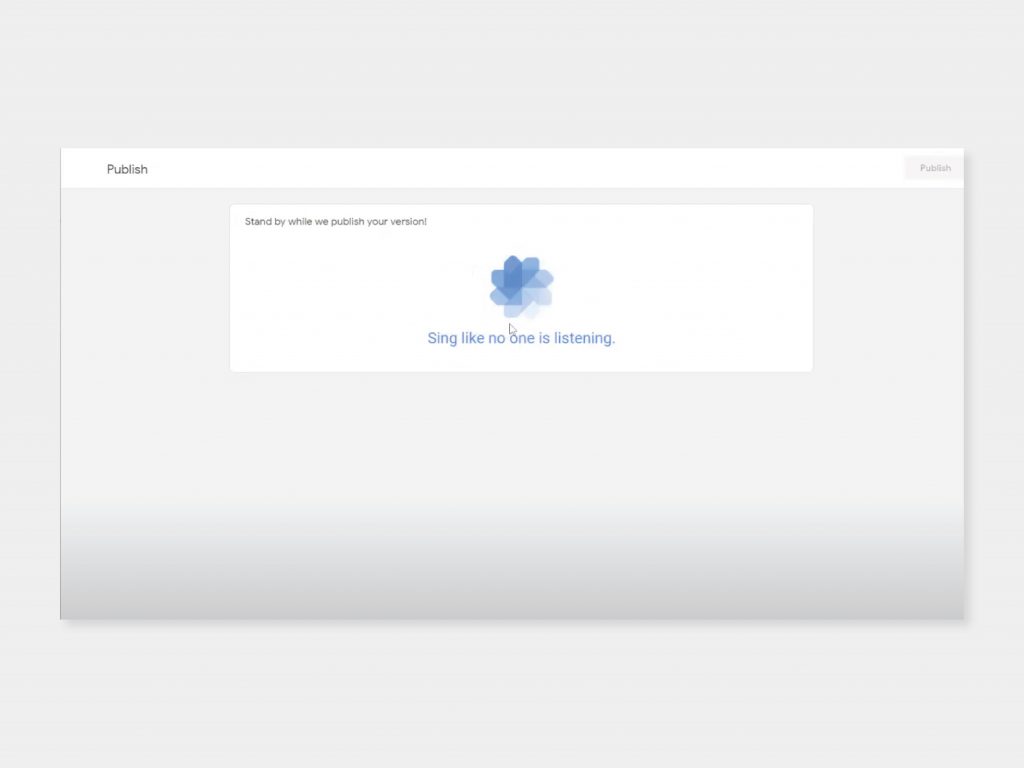
Step 8: Click ‘Submit’. Then, click on ‘Publish’ to set your tag live
Phase 3: Enable the data layer in the GTM4WP plugin
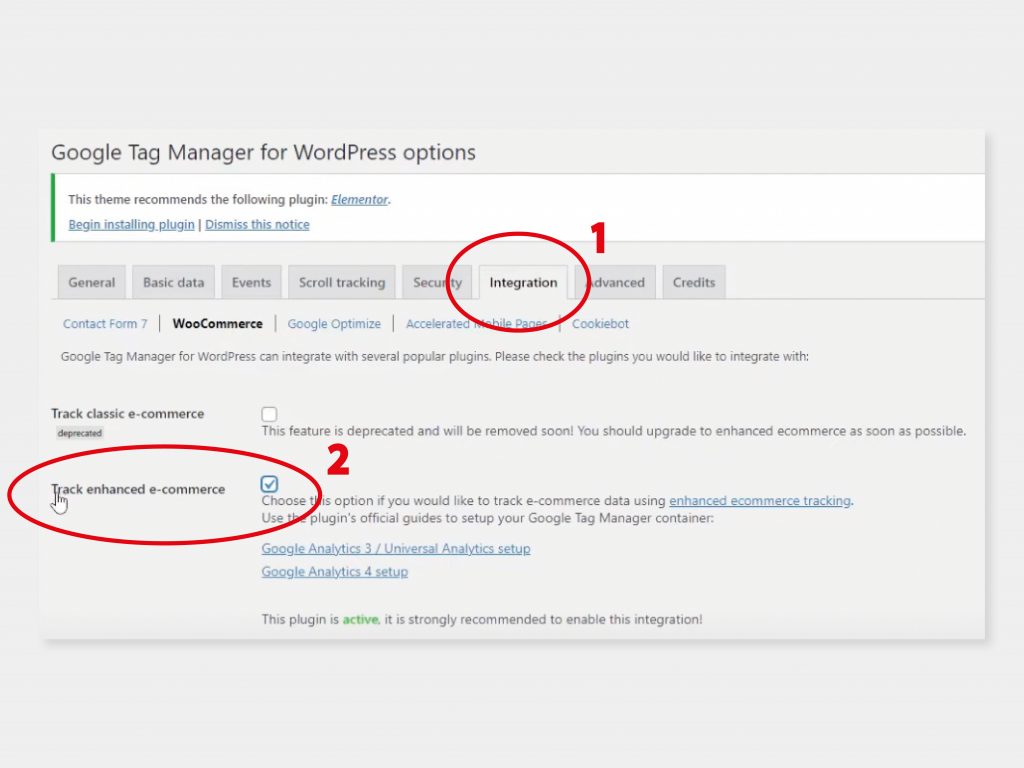
Step 9: Go back to your WordPress website. Go to ‘Settings’ and click on ‘Google Tag Manager’. At the top of the page, there’re 8 different tabs. Click on ‘Integration’. Then, check the box next to ‘Track enhanced e-commerce’. Once you have done this, click ‘Save Changes’
Phase 4: Tracking purchases through Google Tag Manager
Step 10: In Google Tag Manager, go to ‘Variables’. Then, under ‘User-Defined Variables’, click on ‘New’.
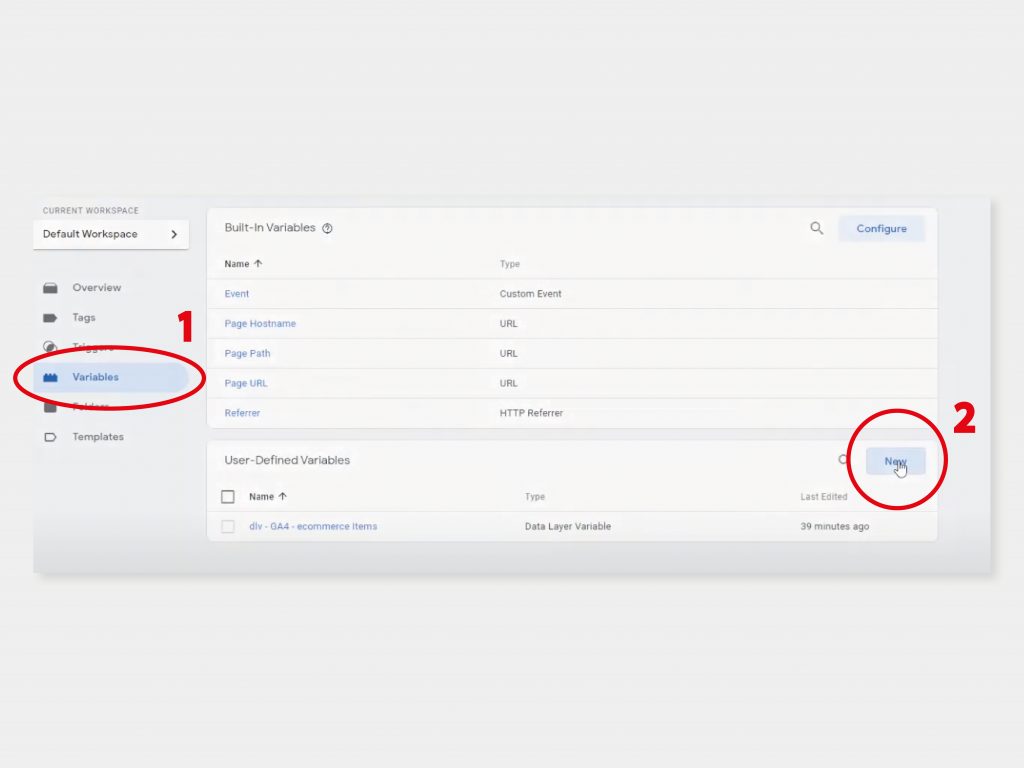
Step 11: You will now be creating the first of 8 variables you need to track purchases. The table below gives clear headings for how you should set up each used-defined variable in Google Tag Manager:
| Name | Variable Type | Data Layer Variable Name |
| div – GA4 – ecommerce items | Data Layer Variable | ecommerce.items |
| div – GA4 – ecommerce transaction ID | Data Layer Variable | ecommerce.transaction_id |
| div – GA4 – ecommerce affiliation | Data Layer Variable | ecommerce.affiliation |
| div – GA4 – ecommerce value | Data Layer Variable | ecommerce.value |
| div – GA4 – ecommerce tax | Data Layer Variable | ecommerce.tax |
| div – GA4 – ecommerce shipping | Data Layer Variable | ecommerce.shipping |
| div – GA4 – ecommerce currency | Data Layer Variable | ecommerce.currency |
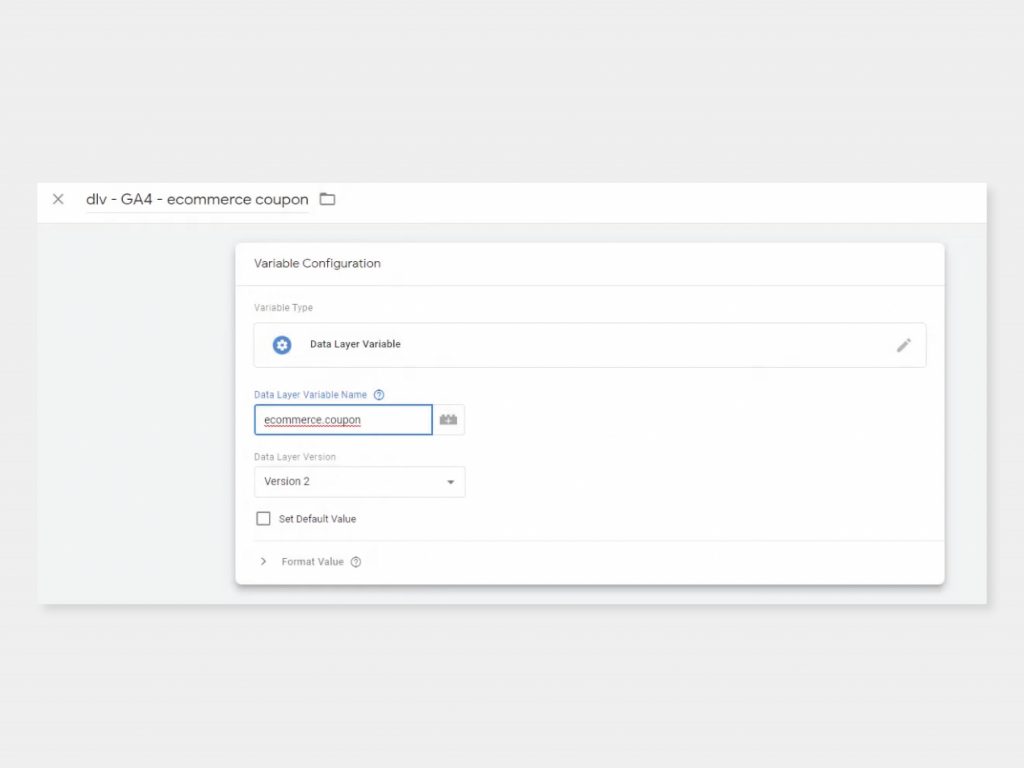
| div – GA4 – ecommerce coupon | Data Layer Variable | ecommerce.coupon |
Below is an example of how this looks in Google Tag Manager for ‘div – GA4 – e-commerce coupon’:
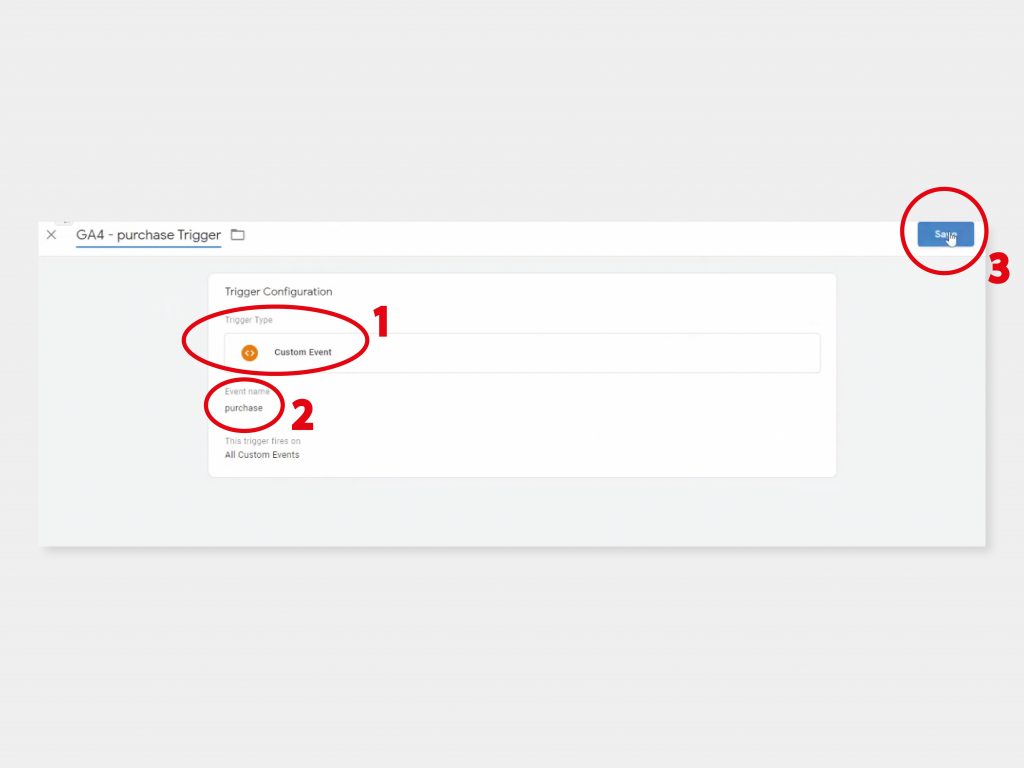
Step 12: Click on ‘Triggers’. Then, click on ‘New’. Select ‘Custom Event’ as the trigger type. Type in ‘purchase’ as the event name. Name the trigger ‘Purchase Trigger’ and then click on ‘Save’
Step 13: Click on ‘Tags’. Then, click on ‘New’. Click on the ‘Tag Configuration’ box to select ‘Google Analytics: GA4 Event’ as the tag type. The configuration tag will be the ‘Google Analytics 4’ tag you created earlier. Under ‘Event Name’, type in ‘purchase’
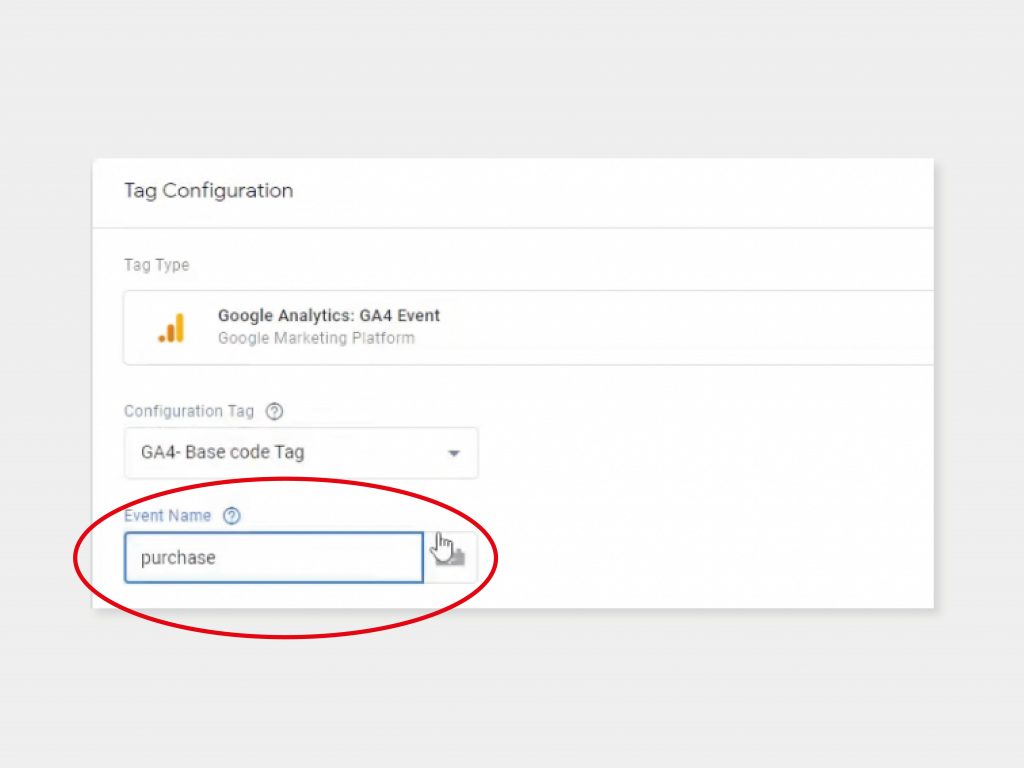
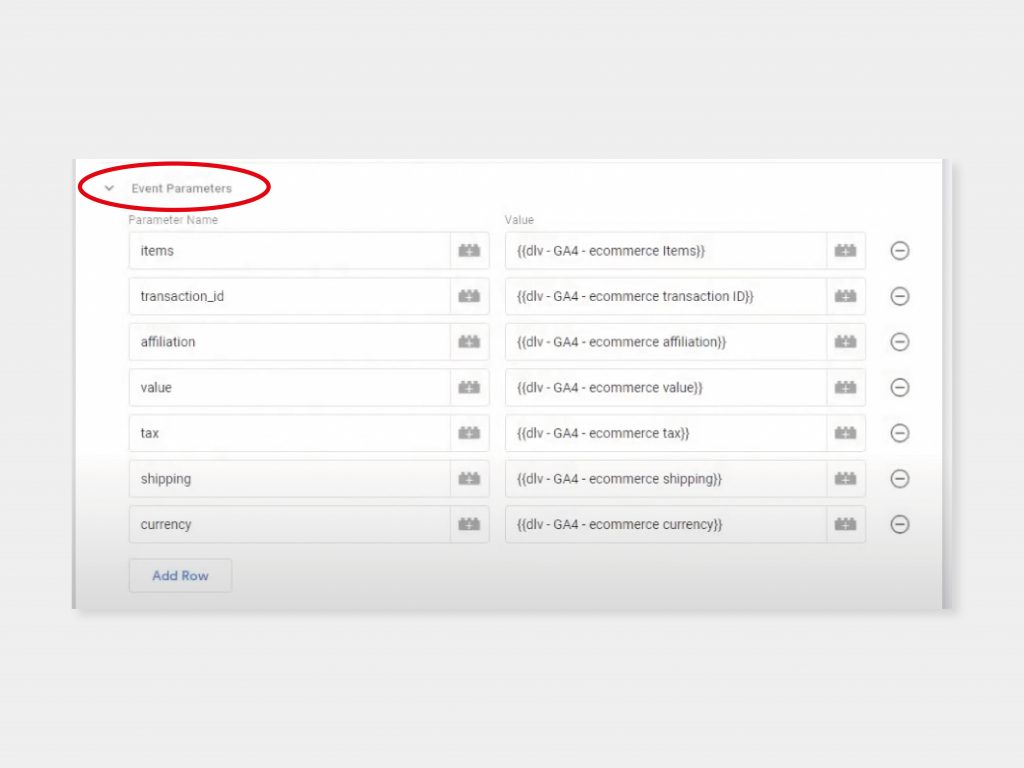
Step 14: Click on ‘Event Parameters’. Type in the Parameter Names exactly as shown in the screenshot below. Under ‘Value’, you will be adding in the 8 user-defined variables created earlier. To do this, click on the grey icon on the right of each slot
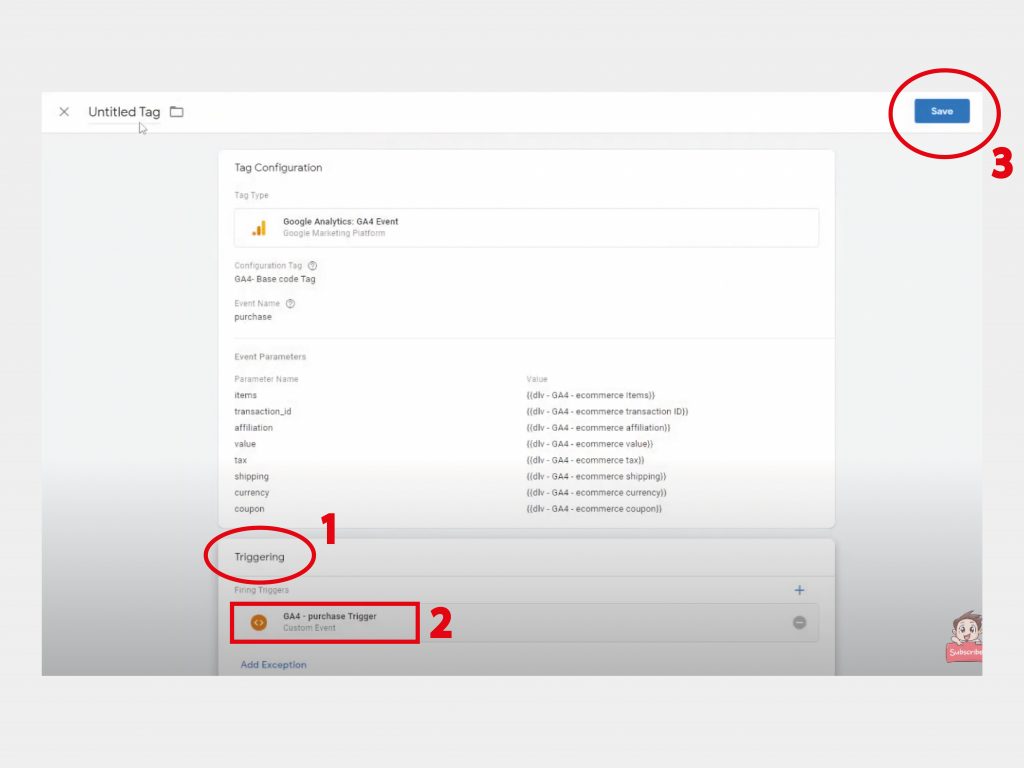
Step 15: Click on the ‘Triggering’ box and add the ‘Purchase Trigger’ you created earlier. Then, name your tag and click ‘Save’
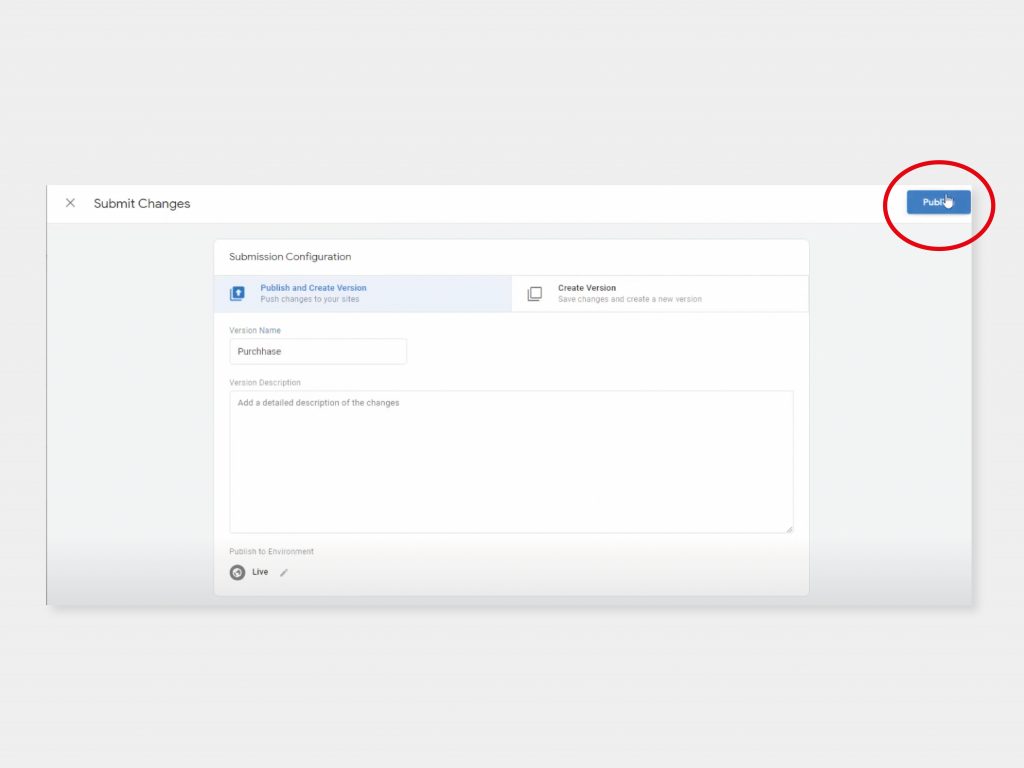
Step 16: Click on ‘Submit’ and then ‘Publish’ so that everything can fire and purchases can be tracked.
And… you’re all set
If you would like for your WordPress website to have complete e-commerce tracking, from viewing items to checking out – get in touch with our team.


